Building a Unity 3D Minesweeper Game Step by Step Part 2: The Character
In this tutorial, we are going to try to build a 3D Minesweeper game in Unity. This is part 2. The complete project is here.
In this part, we are going to create a character and a C# script which responses to the user input and controls the movement of the character.
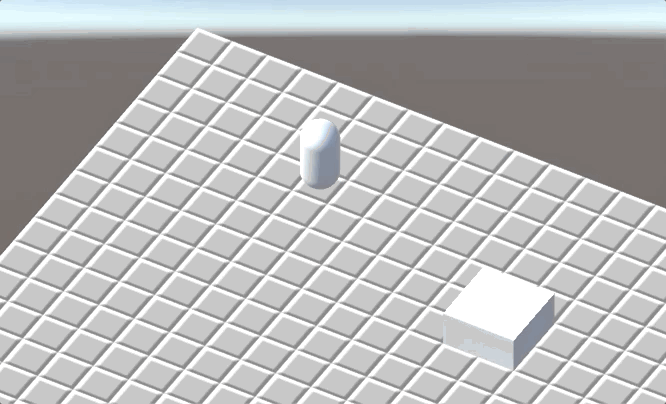
First, create a Capsule object and name it Character. Set its Y-position to 1.1 so that let it a little above the ground. Then, create a script named CharacterController and attach it to the character object.
Next question: How do we control the movement of character? In part 1 of this tutorial, we have set up a NavMesh, so here we will use the NavMeshAgent component to move the character. Attach this component to the character.
NavMeshAgent.SetDestination sets or updates the destination thus triggering the calculation for a new path. Then the character will automatically move to this destination along the path. How do we get the destination? When the user clicks the mouse button, we cast a ray from the position of the mouse. If the ray hits a Brick, its the destination.
CharacterController
Create a script named CharacterController and attach it to the character object. Next, create a script named Brick and attach it to the Brick prefab.
using System.Collections;
using System.Collections.Generic;
using UnityEngine;
using UnityEngine.AI;

public class CharacterController : MonoBehaviour
{
    private NavMeshAgent mMeshAgent;

    // Start is called before the first frame update
    void Start()
    {
        mMeshAgent = GetComponent<NavMeshAgent>();
    }

    // Update is called once per frame
    void Update()
    {
        if (Input.GetMouseButtonDown(0)) {
            Ray ray = Camera.main.ScreenPointToRay(Input.mousePosition);
            RaycastHit hit;
            if (Physics.Raycast(ray, out hit)) {
                GameObject hitObject = hit.transform.gameObject;
                Brick brick = hitObject.GetComponent<Brick>();
                if (brick != null) {
                    mMeshAgent.SetDestination(hit.transform.position);
                }
            }
        }
    }
}
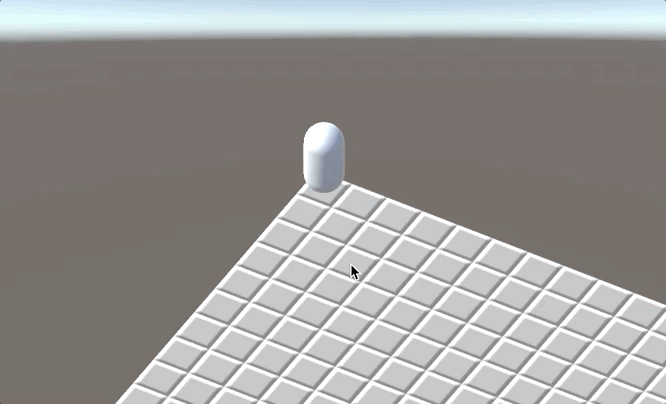
Then move the Main Camera to position (6, 6, 4), and set the rotation to (42, -120, 0). Besides, set the Projection of the Camera to Orthographic.
Now you can play the game.
CameraFollower
We want to the camera always follow the character so that we won’t lose it forever. We just need to keep the vector from the camera to the character be invariant.
Create a script named CameraFollower and attach it to the Main Camera.
using System.Collections;
using System.Collections.Generic;
using UnityEngine;

public class CameraFollower : MonoBehaviour
{
    public GameObject character;

    public float smoothSpeed = 5f;

    private Vector3 mDistance;

    // Start is called before the first frame update
    void Start()
    {
        mDistance = character.transform.position - transform.position;
    }

    void LateUpdate()
    {
        Vector3 nextPos = character.transform.position - mDistance;
        transform.position = Vector3.Lerp(transform.position, nextPos, smoothSpeed * Time.deltaTime);
    }
}
Vector3.Lerp interpolates between two vectors. Invoking it can let our camera move smoother.